
McAfee.com/activate protects your computer and laptop from unwanted, malicious viruses. However, errors can be fixed. McAfee Antivirus Error 1102 that was encountered during installation. Your computer, laptop or PC will crash frequently which is dangerous for your system. The affected error can cause your computer to freeze frequently. This error should be addressed immediately by qualified technicians. It is crucial to secure your sensitive data. One of the reasons for error code 12002 is incomplete installation, corrupted downloaded file, malware infection, among many others. McAfee Antivirus support number can be contacted for assistance.
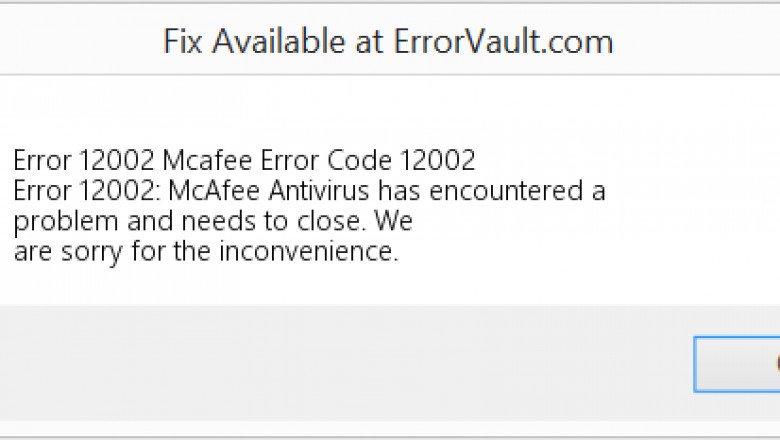
McAfee Antivirus Error 12002 Symptoms
- The active program window crashes due to an error 12002
- When running the same program, your PC crashes frequently with Error 12002
- The "Mcafee Error Code 112002" is displayed.
- Windows responds slowly to input from the keyboard or mouse and runs slow.
- The PC can be frozen for a few seconds at a time.
Steps to fix McAfee Antivirus Error Code 12002 - Www.Mcafee.com/activate
You can fix McAfee Antivirus Error Code 12002 easily by repairing registry entries that are related to Error Code. After you have completed this, run a virus scan on the affected laptop or computer. To clean up system junk, use disk cleanup You can solve technical error 12002 by performing a clean Windows installation.
Step 1: Repair the registry entry that is associated with error 12002
Step 2: Perform a complete Malware Scan on your laptop or PC affected by malware
Step 3: Use Disk cleanup to clean out junk from your computer
Step 4: Upgrade your PC drives
Step 5: Use Windows system restores to undo any recent system changes
Step 6: Re-install McAfee Antivirus Program that was associated with error 12002
Step 7: Run Windows Checker System file
Step 8: Install all Windows Updates
Step 9: Perform a clean installation.
http://journal.aiou.edu.pk/journal1/index.php/JIE/comment/view/417/38/2106
https://dli.nkut.edu.tw/community/viewtopic.php?CID=17&Topic_ID=14223


Comments
0 comment